How to Frame a Paint by Numbers Canvas
So you’ve finally completed your paint by numbers? Congratulations!
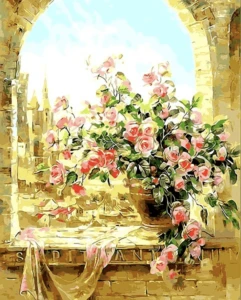
If you’re feeling proud of your creation, it’s now time to give your masterpiece the final finishing touch – a paint by numbers canvas frame.
After all, you’ve worked so hard and for so long to finish your painting, the least it deserves is a frame so that it can be hung high and proud on a coveted wall in your home.
Do you want to know how to frame a paint by numbers canvas properly? If so, there are six steps you need to follow.
Listen up. Your beautiful framed masterpiece awaits.
Paint by Numbers Canvas Frame: Glass or No Glass?
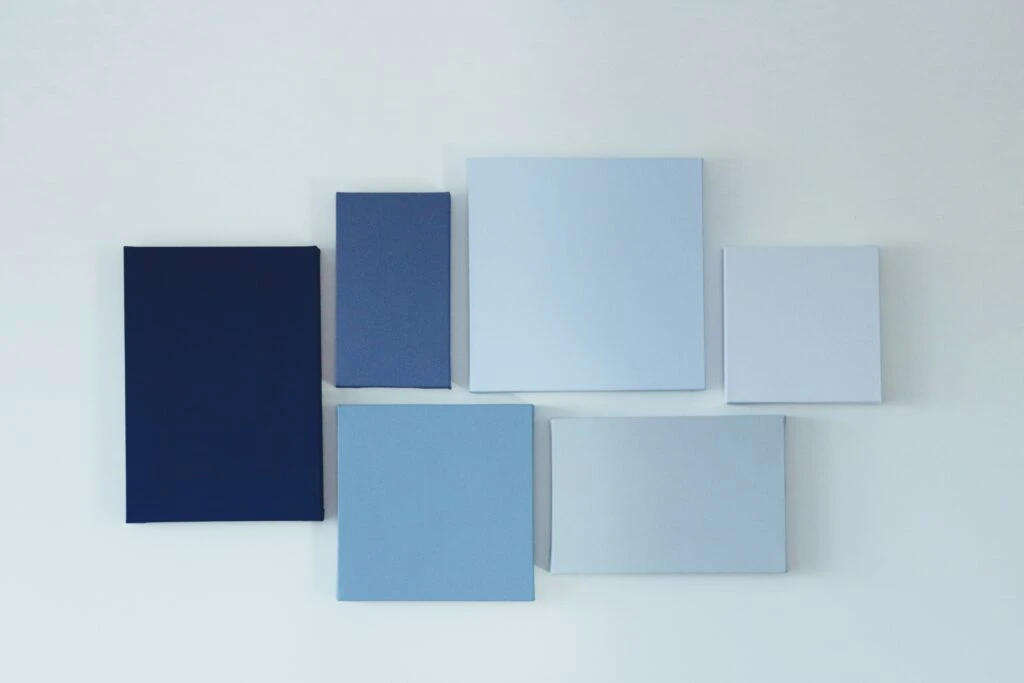
There are a variety of paint by numbers canvas options out there. They vary in size, style, and material, so have a shop around and find the one that best fits the size and aesthetic of your canvas painting.
There is one big question that painters often debate…
“Should I use a glassed frame?”
The truth is, there are pros and cons. Although you don’t need a glass frame, we find glass helps protect the painting – plus keeps away dust and debris.
However, some people find the reflection of the glass takes away the visual effects of the textures and brushstrokes. So, whether you use a glass frame or not is down to you.
What Components Do I Need?
There are a few things you need to frame a paint by number canvas. But don’t worry, they’re all affordable items that you can find in your local arts and crafts store. You might even have some of them already lurking in your painter’s toolbox. You’ll need:
- your chosen frame
- pair of scissors
- painters tape (or standard adhesive tape)
- glass cleaning spray and a polish cloth.
6 Steps: How to Frame a Paint by Numbers Canvas
- Prepare the canvas sheet
After purchasing the right size and type frame, the first step is to prepare the canvas sheet. In order to do this, you need to trim or fold the edges to ensure it fits perfectly inside the frame. Line up the canvas over the frame to see how much needs to be altered.
And just beware, if you’re cutting it with scissors, it’s best to start with a smaller trim in case you do too much – you can always cut more if needed. Also avoid being heavy-handed – your freshly-painted paint by number is delicate.
Also, remember that you can skip this first step if the frame is a perfect fit to begin with.
- Stick tape along the corners
Once the canvas is the right size, it’s time to stick down some painter’s tape on the back of the canvas.
Do this by flipping the canvas over to reveal the back of the painting and sticking four large pieces of tape to the canvas material. Make sure the pieces are big enough to make it stick to the backboard – but not too big that the tape is visible from the front view.
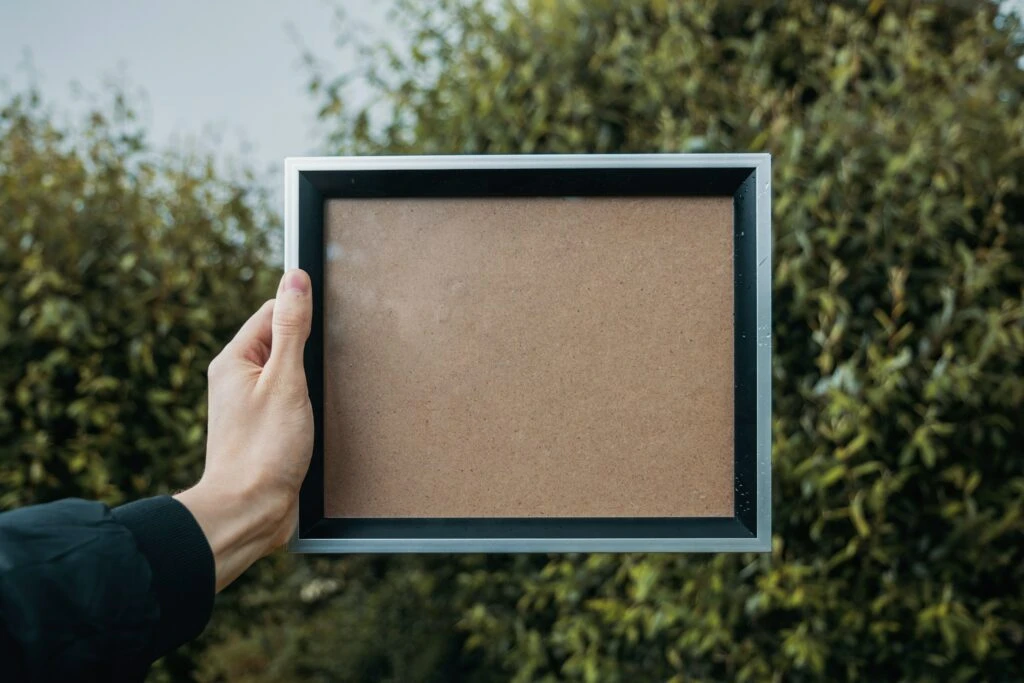
- Prepare the frame
Next you need to prepare your paint by numbers canvas frame. Start by removing the frame’s backboard, which you can do by bending back the metal clips around the four corners and edges.
Your finger usually does the job nicely, but if the clips are tough and unbudging, use a flathead screwdriver.
- Clean and polish the glass
If you’ve chosen a frame with a glass panel, always make sure it’s spotlessly clean. Use spray and a polishing cloth to wipe any dirt, debris, dust, or smudge marks.
Avoid placing your fingers on the glass panel as you move onto the next couple of steps too. You’ll only have to keep going back to polish the glass if you notice any more marks – especially if you’re as meticulous about perfection as us.
- Stick the canvas into the frame
The penultimate step means you’re nearly there! So, next it’s time to stick the canvas inside the frame.
Do this by carefully slotting the canvas inside the wooden frame and making sure it fits snugly. Feel free to trim or fold the canvas if you need to. Once it’s slotted in nicely, place the backboard back on – pressing down firmly in order for it to stick to the adhesive tape.
- Make sure it’s secure
Last but not least, bend the metal clips back around to secure the backboard in place.
Once it’s secure, turn the painting over to make sure that it’s straight and displayed in its rightful place. If everything’s sealed and looking good, you’re all done!
Ironing Your Canvas: How to Get Wrinkles Out of Paint by Number Canvas
Although wrinkles on your canvas are perfectly normal, the good news is you can minimize them by ironing out the creases (quite literally).
That’s right, we find the best way to achieve a wrinkle-free canvas is to use your iron. The heat works wonders for smoothing out the creases.
Follow our do’s and don’ts on how to get wrinkles out of paint by number canvas with an iron…
DO:
- make sure you don’t leave the iron on one area for too long
- make sure the canvas is as stretched out as much as possible
DON’T:
- use steam, mist, or water when ironing – you want to keep it dry.
- iron face up!
This might seem obvious, but we’ve seen many people iron straight onto the paint rather than the back of the canvas. As you’d expect, this was a disaster move.
Get in touch
Want to finish your own paint by numbers masterpiece? We’ve a wonderful collection of kits for you to choose from, so find the one that sticks out to you – from animals to fantasy to landscapes to flowers.
Want a paint by numbers that’s personal to you? Choose our custom photo kit.
Whether it’s a landscape scene or a portrait of you and a loved one, simply choose your fav photo and leave it up to us to create the kit.
Got a question? Just shoot us an email: [email protected]